

From the SRN illus. Moleskin notebook,
here, more legible:
"We come by our respect for owls rightly.
Once, when walking through northern WI woods at
dusk we heard the quiet beating of wings behind us.
Instantly, our coonskin hat was
lifted from our head by a hungry Great
Owl, near-sighted apparently. The owl
dropped his quarry in front of us
on the trail, as if to say
NEVER MIND!"
[Unforgettable things
befell us in those lonely woods]
^,^
At 80 yrs, limburger

Son David Jr. presented us with a fruit basket from Brennan's and under the cellophane wrap
right at the top prominently was a brick of limburger. "Happy birthday Dad!"
We made this sandwich, our latest in a long chain, one day this week.
^,^
from the net:
Many know limburger cheese for its characteristic pungent smell. While its aroma may turn off some, the spicy, slightly sweet taste of this soft cheese is nectar to others. Although terrific by itself, the sharp flavor of limburger is complemented by other robust-flavored foods such as anchovies, sausage, raw onions or rye bread.
Limburger cheese is made by fermenting bacteria named Brevibacterium linens, the same bacteria that live under the human skin and causes foot odor. Making your own limburger cheese involves a six-week fermentation process that results in a "stinky" cheese all your own.
---------
^,^

Cast Iron cooking
by Linda Cicero
TNS
If I could only have one tool from my kitchen, I’d choose my 16-inch cast-iron skillet, handed down from my grandfather to my mother to me, and no doubt at least 100 years old.
It has survived floods and fire and even my husband, who can’t get it through his head not to douse it in dish soap when it needs to be cleaned. I use it most days, even though it weighs a ton, because it is just so versatile — and I swear it cooks more evenly and produces a better crisp than even the costliest of modern cookware.
I didn’t think I could learn anything new about my skillet until I got a copy of “Cook It in Cast Iron,” just published by America’s Test Kitchen (Boston Common Press, $27).
The cookbook is full of great tips, explains the science to why cast iron naturally is nonstick when seasoned properly, and why it makes a better sear on steak or a crisper cornbread. The straightforward explanations take a lot of the scariness out of using cast iron for novices, and the recipes are both easy to follow and attuned to the skillet’s attributes. And I truly enjoyed cast iron hacks like these: Make a panini press: Set a large, seasoned, oiled cast-iron skillet over medium-high heat; place your assembled sandwiches in the middle, and top with a smaller skillet that will act as a press. Cook until the bottom of the sandwich is golden brown, then flip and repeat the process on the other side.
Use it as a flame tamer: Keep sauces and the like over gentle heat for a long time without scorching. Simply place the skillet over a low flame, then place your pot or saucepan right in the skillet. The skillet will moderate the heat.
Give pie crusts a better chance: A seasoned cast-iron skillet can be the perfect cooking vessel for just about any pie. Just make sure your skillet is 9 or 10 inches in diameter to keep the recipe volume and baking times consistent.
The recipes tell you why cast iron is the best choice. For the recipe here for pizza dip, cast iron is best for baking because it gives a crisp golden bottom to the pull-apart rolls. Serving it in the skillet, with its natural heat retention, ensures that the cheese doesn’t separate or become congealed but stays warm and gooey until the last bite.
Reader question Q: My grandmother made a chocolate cake for every birthday that started out with her mixing the ingredients in a saucepan on the stove. I’ve searched for this recipe for years but have never found one that calls for cooking the ingredients like that before you baked. My daughter who goes to Florida International University told me to ask you, so here goes.
A: I think I’ve got the recipe, which came from a reader long ago when I was looking, like you, for a chocolate cake that haunted my memories. My aunt Lucy made it at her farm in Iowa with leftover oatmeal, right in the pot she’d used to make our breakfast. I happily got a cooked oatmeal chocolate cake recipe, and lots of others in the process.
I adore this cake for its simple goodness. It goes together in no time and to my mind needs no adornment. If you like, go decadent with a dark chocolate ganache but my favorite way to serve it is with a dollop of soft whipped cream while the cake is still warm.
Baked pepperoni pizza garlic rolls and dip
3 ounces thinly sliced pepperoni, quartered 1 tablespoon extra-virgin olive oil 3 garlic cloves, minced 1 pound pizza dough 8 ounces cream cheese, cut into 8 pieces and softened 1/2 cup pizza sauce 4 ounces mozzarella cheese, shredded (1 cup) 2 tablespoons chopped fresh basil Adjust oven rack to middle position and heat oven to 400 degrees. Cook pepperoni in 10-inch cast-iron skillet over medium heat until crisp, 5 to 7 minutes. Using slotted spoon, transfer pepperoni to paper towellined plate; set aside. Off heat, add oil and garlic to fat left in skillet and let sit until fragrant, about 1 minute; transfer to medium bowl.
Place dough on lightly floured counter, pat into rough 8-inch square, and cut into 32 pieces (1/2 ounce each). Working with 1 piece of dough at a time, roll into tight ball, then coat with garlic oil. Evenly space 18 balls around edge of skillet, keeping center of skillet clear. Place remaining 14 balls on top, staggering them between seams of balls underneath. Cover loosely with greased plastic wrap and let sit until slightly puffed, about 20 minutes.
Remove plastic. Transfer skillet to oven and bake until balls are just beginning to brown, about 20 minutes, rotating skillet halfway through baking. Meanwhile, whisk cream cheese and pizza sauce together in large bowl until thoroughly combined and smooth. Stir in mozzarella and three-quarters of crisped pepperoni.
Spoon cheese mixture into center of skillet, return to oven, and bake until dip is heated through and rolls are golden brown, about 10 minutes. Sprinkle with basil and remaining crisped pepperoni. Serve.
Yield: 10 servings
Saucepan chocolate cake
2 cups sugar 4 ounces unsweetened chocolate, broken into pieces 1/2 cup (1 stick) butter 1 cup water 2 cups all-purpose flour 2 teaspoons baking soda 1 teaspoon baking powder } teaspoon salt 1 cup milk 1 teaspoon vinegar 2 eggs 2 teaspoons vanilla extract Generously grease and flour two 9-inch cake pans or one 9-inch tube pan. Preheat oven to 375 degrees. Measure the sugar, chocolate, butter and 1 cup of water into a heavy saucepan. Stir over medium heat until all ingredients are melted. Set aside to cool to room temperature. In a mixing bowl, whisk together the flour, baking soda, baking powder and salt. Combine the milk and vinegar in a glass and set aside. When chocolate mixture is cool, beat in the eggs and milk. Stir in the dry ingredient mixture. Finally, stir in the vanilla extract.
Spoon into prepared pans and bake on the middle rack until a tester inserted into the center comes out clean, about 25 minutes for layer pans, 30 to 35 minutes for tube pan. Cool on wire rack for 10 minutes then invert to cool completely. Frost as desired, or simply sprinkle with powdered sugar. Yield: 12 servings
^,^
Wall eyes from the Menominee River

This is Jane Vollmer
She used to fry and fry and fry the wall eye fish husband Bill caught
in the river across from their retirement cottage
on Twin Island Road north of Marinette WI.
She used an old cast iron fry pan that never got washed,
so much was it used. It was properly seasoned instead.
Jane and Bill had 12 children.
We are still in touch with their youngest, Alan of Peshtigo.
Bill the father was a rough and tumble steel handler
at a Milw. factory, AO Smith. They had a 40 and would escape
Milw. to head up there as often as they could.
Dee and I honeymooned at their cabin on that site
with the deer mice who had claim to the cabin
when it was usually unoccupied.
A memory with many including the owl and hat herein
was the big-eared mice who climbed the blanket
to peer at us as we reposed.
They seemed to be tapping their toes
anxious for us to leave.
We'd become fast friends with the Vollmer when we sold
their small house on Hawley Rd near Vliet, MIlw.
The house in which they raised their tribe
had been on the market twice ahead of me
with no sale.
They expected us to push for a sale reduction.
Instead we suggested a price increase,
and the house sold in 11 days.
Thereafter we were lifelong friends.
Lots has been written in the Raccoon
about the Vollmers.
Then friends for life. (FFL)
plus much more.
Search SRN under 'Vollmer' if interested.

Bill with editor standing on the foundation of the burned down cabin, Marinette Co, WI


Jane's fried wall eye were the greatest!
Later we took up going to Port Washington WI
for well eye done on a wood plank at Smith Bros, but
they after years closed shop.
Their fare was very good
but not Jame Vollmer's
done in her old cast iron pan.
We think the fish took on something extra
in her seasoned heavy old skillet.
We think the fish took on something extra
in her seasoned heavy old skillet.
^,^
The Five Points out our windows
is torn up at the moment

It started innocently enough like this.
You can't (tear up a road and install new sewer lines)
without breaking (splintering some pesky trees.)
(an omelet; some eggs)


Workers labor day and night to get the job done on time - or ahead.


Our immediate terrain so shaken by the monster machines
that this was our drinking water last evening.
Running it overnight cleared it, at least visually.
'Oxalis' plant
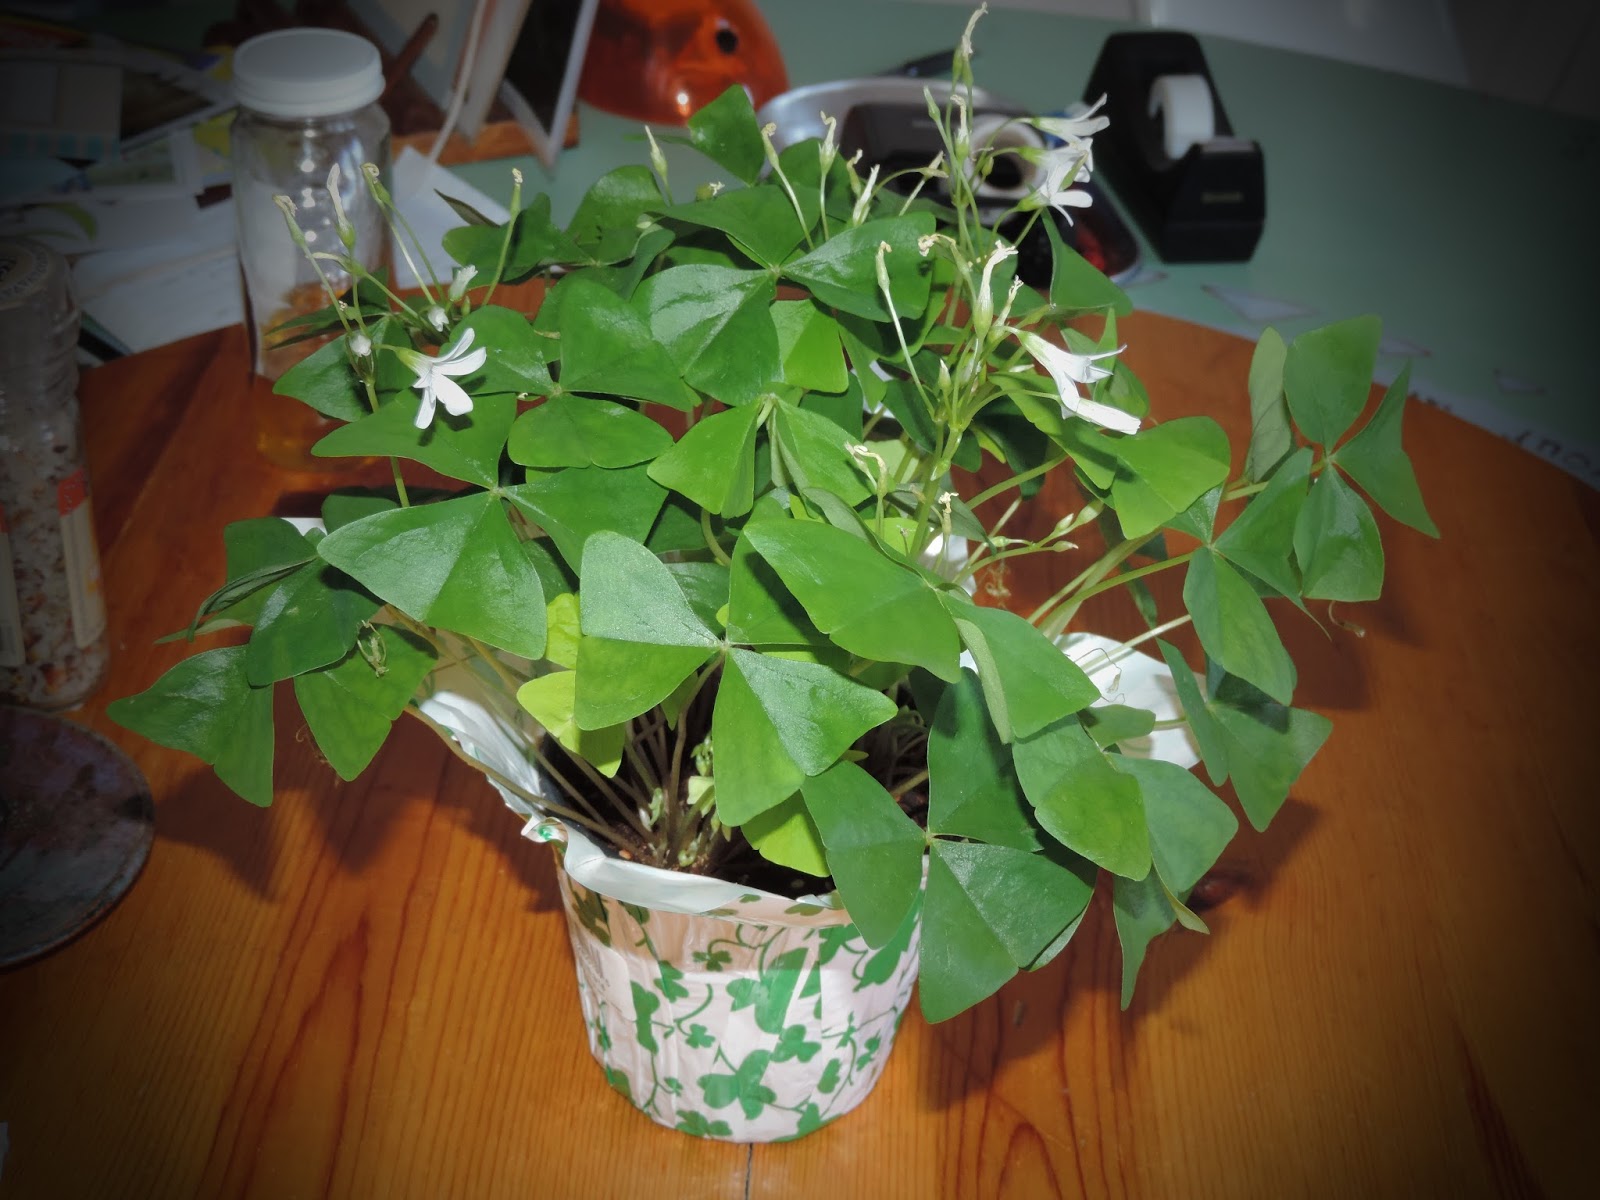

Dee picked up this plant for $4 at Pick n Save.
Sure, it's got three leaves but keep lookin'.
https://www.youtube.com/watch?v=lJiznhUEc8g
^,^

